Tag Archives: Spinach

Mini Greenhouse: Using Roofing Panels to Warm the Soil

Using Fiberglass Roofing Panels to Create a Mini Greenhouse, Extend the Season or Warm the Soil

A few weeks back we had a spell of warmer weather and I waited till the end of it to attempt a sowing of pole beans. A couple weeks after the fact I decided to look for the seed as nothing was coming up. I dug around and found…nothing. The soil didn’t look disturbed so I’m not thinking it was birds. I’m guessing it was just too cool and wet and the seed rotted. When the weather gods predicted another bout of warm weather I was on it. It occurred to me that I could possibly get a jump on sowing if I could warm the soil. Remembering a mini greenhouse I used in gardens past I made a trip to the lumber yard and came home with an 8′ long roofing panel. Once upon a time these used to be made out of fiberglass and perhaps you can still find them but any I’ve found locally have been PVC or ‘polycarbonate’. I’m hoping they will work as well (and last as long) as the fiberglass panels used to. I’ve used them to extend either end of the growing season when just a few degrees can make all the difference. My hope in using them this time is that they will help to warm the soil a few degrees so that the bush beans I plan to plant there will have a better shot at germinating should the weather cool again (a very real possibility around here).

Shopping List

  • 1 clear or semi clear roofing panel. 26″ wide and the length of your choice. Mine was 8′ long
  • 4 1″x2″x16″ stakes per panel
  • length of wire or twine to secure the panel

Preparation and Installation

  1. Cut a 1/4″ notch into each of the stakes, a few inches from the top. This will insure that the wire or twine stays put. I cut my panel into 2 4′ sections but they can also be left whole.
  2. Once you decide where you want your panel to sit, drive two of the stakes into the ground approximately 6-12″ in from each end of one side of the panel.
    Drive two more stakes in 12″ from the first two. If two panels are being installed next to each other you can use 2 less stakes as the middle stakes can secure both panels (see image).
  3. Gently fold the panel into an upside down U shape and set it between the two stakes.
  4. Tie string or wire, crossing over the panels. Thats all there is to it!

Garden Happenings

Harvest

2 large bags filled with lettuce, kale and spinach
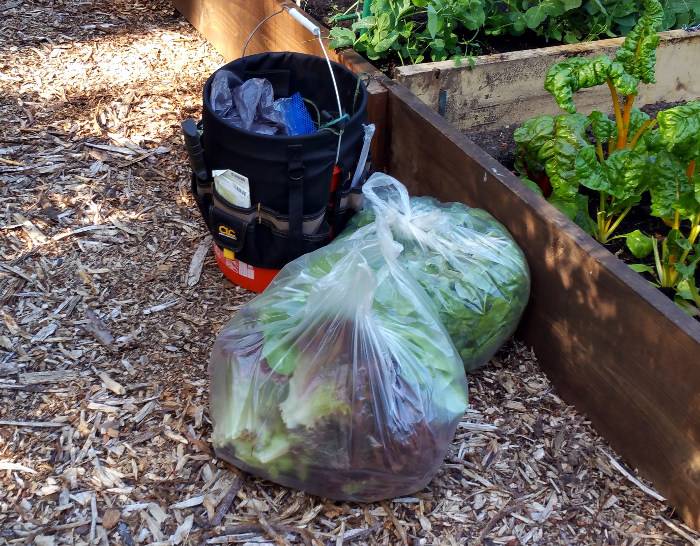
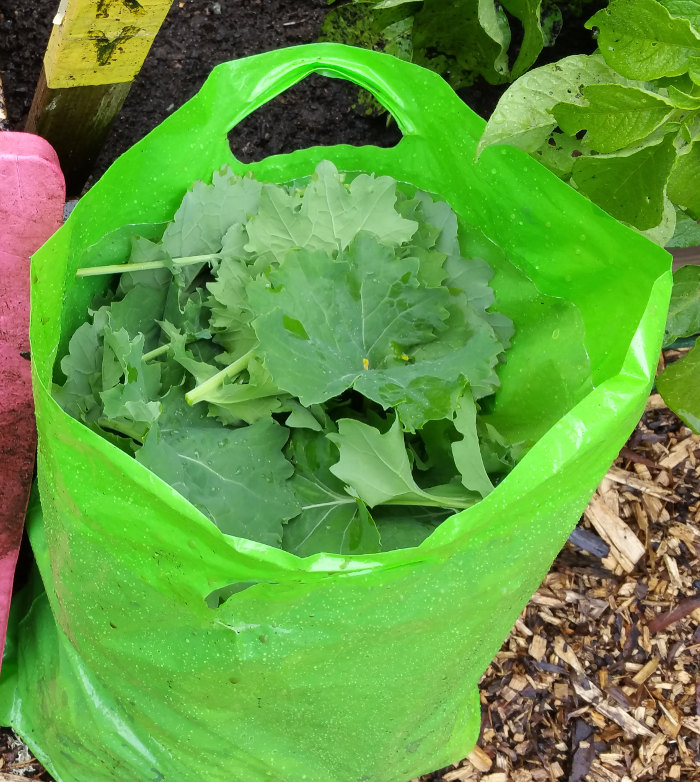
The Palco spinach is showing signs that it is about to bolt which necessitated harvesting that 1′ wide bed. Since I wanted the space on either side of it I decided to harvest one of the beds of the Mild Mesclun mix that was ready. I also harvested the rest of the red and butter lettuce from the bed next to the peas. I ended up with two large bags of green goodness, one filled with lettuce and the other with spinach and kale. Way more than we will ever eat I decided to fill some 1 gallon bags for the local food bank. I ended up getting 8 1 gallon bags in total. 3 spinach, 2 kale and 4 lettuce. 8 to go to Helpline and 1 bag of spinach for us.

Sowing

It may be too warm but I sowed two short rows of Renee’s Farmer’s Market Blend lettuce in the shade of the peas.

On the balcony I started a pot of SMR-58 cukes, Astia zucchini and another attempt at “Italian Pesto basil. ALL of the batch I started inside this spring ended up dying. Not sure if it was a rot or ? Need to investigate that.

Long Division and the Great Potato Experiment of 2016

My garden is exactly 10’x20′ in size, 2 plots in the local community garden.  Each bed in  the garden is about 10’x50′-60′ (Can’t remember which it is now but you get the idea.) and contains 5 or 6 10′ long plots.  The long sides of most of the beds are walled in with 2″x12″ boards and the ends are open.  My 10×20 is a fraction of the approx 40’x60′ garden I left in Southern Kentucky but plenty for my wants, needs and amount of free time.  The small size means every square inch counts and that I have to be selective about who gets a spot to put down roots.  Each individual gardener has the ability to amend our spots to our hearts content and as such, some plots end up being taller than the plot next door. This means that 6-8″ on the end of the taller plot is pretty much unusable as water just runs off to the lower beds.  This happens again at the end of the bed where my plot is. This year some of the gardeners have added divider boards and end boards to their plots.  By capping it off on either end that last 6-8″ is usable.  Anita was nice enough to pick up a couple of boards for me as our car is too small to carry much of anything over 6′ long.  It was raining when I arrived at the garden this morning.  Not a hard rain but the gentle rain so common in our area.  Historically I would not garden in the rain but I only get two days off every week and I have to take the time I get.  It didn’t take long to trench out the area for the boards using the narrow hoe.  After all was said and done I figure I’ve gained about 10 square feet at 6″ x 10′ x 2 sides.   I pulled some of the volunteer nasturtiums that were growing in the walkway and tucked them in along the inside of the middle board.  They will look nice spilling over the board later this summer.

The potatoes I planted 41 days ago in 8″ deep trenches are looking AWESOME! The trenches have been filled as the plants grew and they are looking very lush. That being said, if I had it to do over I would have planted them in large containers like the guy over at the Allotment Diary in the UK.  I stumbled upon his video about growing potatoes in containers and will definitely go that route next year if I grow them again. The growing part isn’t what makes containers great, it is the harvesting part. From what I’ve read and been told, harvesting potatoes without cutting into some of them and/or leaving some behind to sprout next year is problematic.  Dan, Mr Allotment Gardener, plants potatoes deep in containers, the way I did in the trenches, filling with compost as they grow. The containers are partially buried in the garden early on so the roots can grow though into the soil below for nutrients and moisture leaving the potatoes to develop in the containers.  Harvesting consists of dumping the entire container onto a tarp and fishing out the little bundles of starchy goodness.  His most recent video shows him harvesting new potatoes from plants in small pots he started 2 months ago. A much easier task when they are grown in containers. If you have any interest in potato growing check him out. I think the environment in his part of the UK is similar to ours here in the PNW.

greens

In other happenings, The lettuce is LOVING the wet and cool weather we have been having. Today after getting the boards in, I harvested red, green and oak leaf lettuce as well as a mess of some mixed kale like greens. The Palco spinach is ready to go but my bag was full. Perhaps tomorrow. Again this year I was reminded that there is really not much to gain by using lettuce transplants. The beds I direct seeded have caught up to the bed with the transplants. I should save my money but I get so impatient in the early spring and want to se SOMETHING green. I had planned to seed some zucchini this weekend but not sure it will like the 50+ degree days we’ve been having. I suppose I could start it under lights inside. There isn’t much of a rush though as I’m not really sure where I’ll stick it yet. I had originally thought it would go where the kale was but I put the chard there. Decisions…decisions.